

You finished the recording, the transcript reads clean, and then you go looking for a translate button for a bare audio file. There isn't one.
That's not user error. Descript's own tutorials frame translation as AI dubbing with lipsync and as subtitle translation on the timeline â both video-layer features. To translate a voice note recorded in Descript, the voice leaves the app as an audio export, gets cleaned, then gets translated in a tool built for speech rather than footage.
This guide walks that three-step path with no re-recording. You'll see why the app stops short of audio-only translation, which export format survives a second pass, how long a note should run before you translate it, and what to do when the recording trails off mid-sentence.
Pro tip: read the transcript once before exporting. Mis-heard words stay invisible until an engine renders them confidently in another language.
Watch one thing from the start: the format you pick at export quietly decides how much of your tone survives the trip â and the file that sounds best in your headphones is often the one that comes back worst. VClar's voice note translator handles the clean-and-translate half across 11 languages without flattening your accent or cadence.
Does Descript Translate Voice Notes, or Only Video?
Descript translates video, not standalone audio. Its translation features cover AI dubbing with lipsync and subtitle translation on the timeline, so a bare voice note has no in-app translate button and leaves the app as an export.
Voice note translation is the process of carrying spoken audio into another language as audio, keeping the speaker's pitch, rhythm, and accent instead of substituting a synthetic read.
The gap makes sense once you see what the features were built for. A tutorial titled "Translate Videos into 30+ Languages with Descript (AI Dubbing + Lipsync)" teaches mouth-shape matching on camera; "How to Translate Subtitles on Descript" teaches timed captions. Using a full video editor to translate a 60-second memo is like hiring a film crew to take a passport photo â the instrument works, it's just aimed elsewhere.
Four things need settling before the file goes anywhere: the recording is finished, the transcript has been read once for obvious mis-hearings, a target language is chosen, and you've decided whether the audio needs cleanup first.
The transcript review is the prerequisite that pays for itself. Descript turns speech into editable text, and that text is the first place a mis-heard word appears. A dropped name or a swapped number looks harmless in English and becomes a confident false statement once a translation engine renders it. Read the transcript once, fix what's obviously wrong, then decide whether the audio needs filler removal before translating. When the answer is yes, a dedicated cleaner is lighter than the editor â see VClar vs Descript for where the two split.
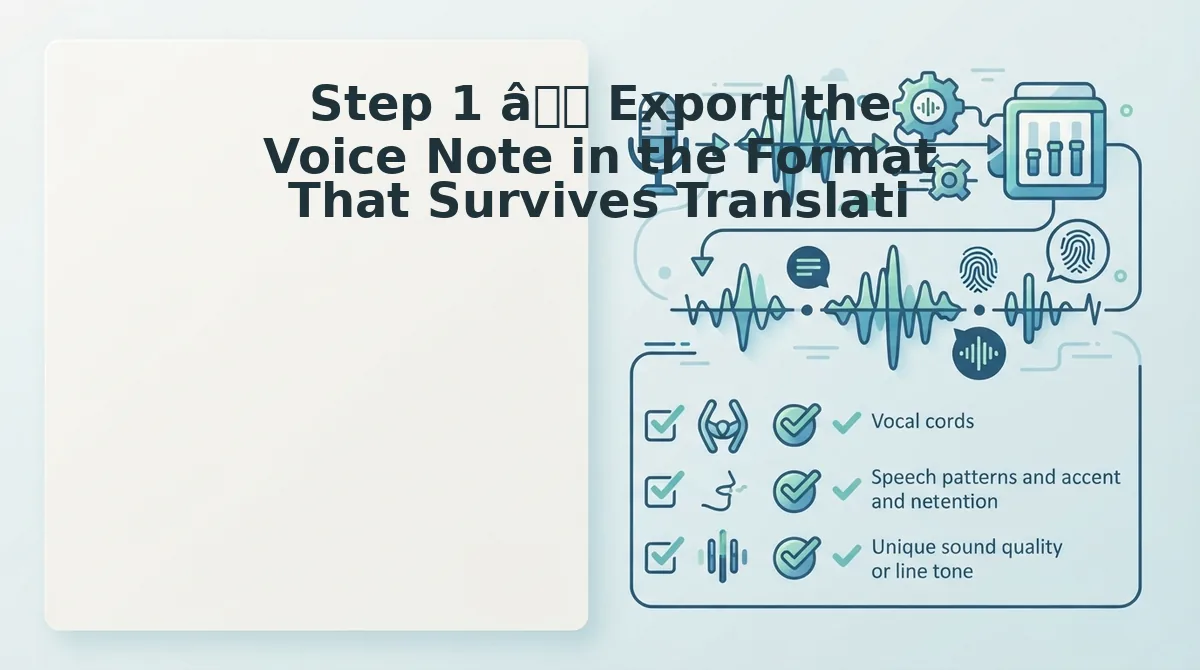
Step 1 â Export the Voice Note in the Format That Survives Translation
Here's the mechanical part. Export is where most people lose quality before a translator ever touches the file.
- Open the finished composition in Descript and confirm the audio clip sits on its own track.
- Choose an audio-only export â not a screen or video capture.
- Pick the format against the table below, not against file size alone.
- Name the file with language and date so a later pass can't translate the wrong take.
A screen recording drags video along and forces the next tool to demux, one more step your tone has to survive.
| Format | Best for | What survives re-processing |
|---|---|---|
| MP3 | Small files that get shared quickly | Little â lossy encoding on top of lossy encoding |
| WAV | Any file that will be processed again | Everything â uncompressed, no re-guessing |
| M4A | Clips that came off a phone and stay on a phone | Enough for playback, less for a second edit |
The compression logic is the reversal hinted at earlier. MP3 discards detail the ear is supposedly unlikely to miss; a second pass guesses again from what's left, so the losses stack rather than cancel. WAV keeps the full signal, which is why it weathers cleanup and translation better than the small file that sounded fine in your headphones.
Three next steps: export one WAV of your cleanest take, run it through filler and noise removal, then translate from the cleaned audio rather than the raw recording. VClar's filler word remover and translator take it from there, dropping the ums and false starts while keeping your cadence intact.
Your voice already did the hard part â the rest is choosing a container that doesn't argue with it.
You can also translate a voice message.